Recording internal audio on your Windows 11 PC might sound tricky at first. Many people struggle because Windows doesn’t provide a direct way to capture system sound (like game audio, YouTube audio, or music playing through speakers) by default.
Whether you’re a gamer wanting to record gameplay with high-quality sound, a content creator making tutorials, or just someone looking to save a song snippet, learning how to record internal audio on Windows 11 can open up a lot of possibilities.
This guide will walk you through multiple ways to record internal audio, from built-in Windows tools to third-party software, along with tips to get the best sound quality.
Why You Might Want to Record Internal Audio on Windows 11

There are plenty of scenarios where you’d want to capture system sound:
✅ Creating tutorials or how-to videos: Clear system audio makes your videos more professional.
✅ Recording gameplay with original sound: So viewers can hear exactly what you heard.
✅ Saving streaming audio: Maybe a podcast or a live stream you want to keep.
✅ Backing up online meetings: Including what others are saying, not just your mic.
Unfortunately, Windows 11 doesn’t come with a native “record system sound” feature, which means you need a workaround.
How to Record Internal Audio on Windows 11 Using Stereo Mix
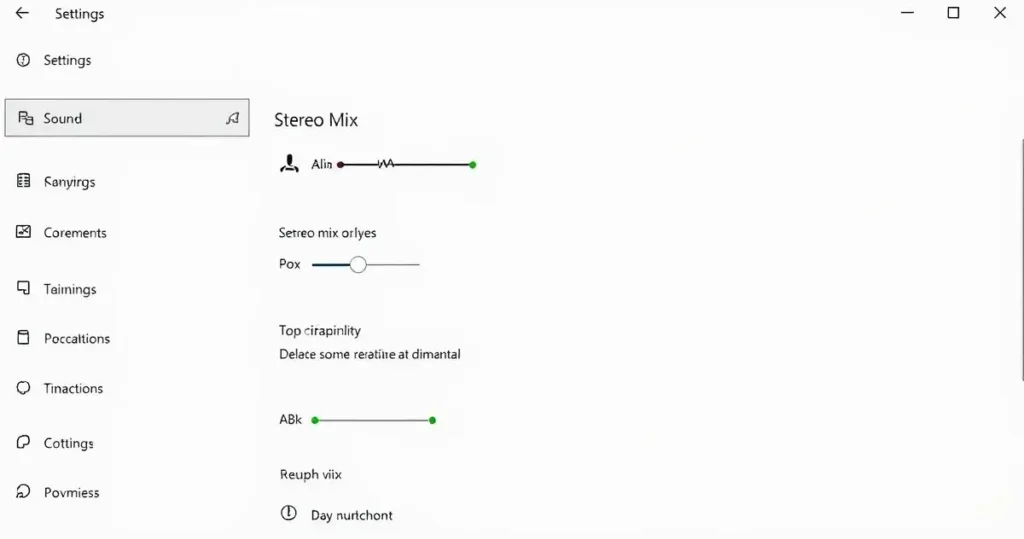
One of the oldest and simplest ways to record internal audio is by using Stereo Mix, a hidden feature in Windows.
✅ What is Stereo Mix?
Stereo Mix acts like a virtual microphone that picks up whatever sound your computer is playing. If your sound driver supports it, you can enable Stereo Mix and then select it as your input in any recording software.
🔧 How to enable Stereo Mix
- Right-click the speaker icon on your taskbar and choose
Sounds. - Go to the Recording tab.
- Right-click and check
Show Disabled Devices. - Find
Stereo Mix, right-click, and enable it. - Set it as default device.
🎤 Record with Stereo Mix
Open any recorder (like Audacity or even Windows Voice Recorder), select Stereo Mix as your input, and hit record. That’s it — your PC’s internal audio will be captured.
❗ Downside
Not all sound cards or drivers support Stereo Mix. If you don’t see it, don’t worry — there are still plenty of alternatives.
How to Record Internal Audio on Windows 11 with Audacity
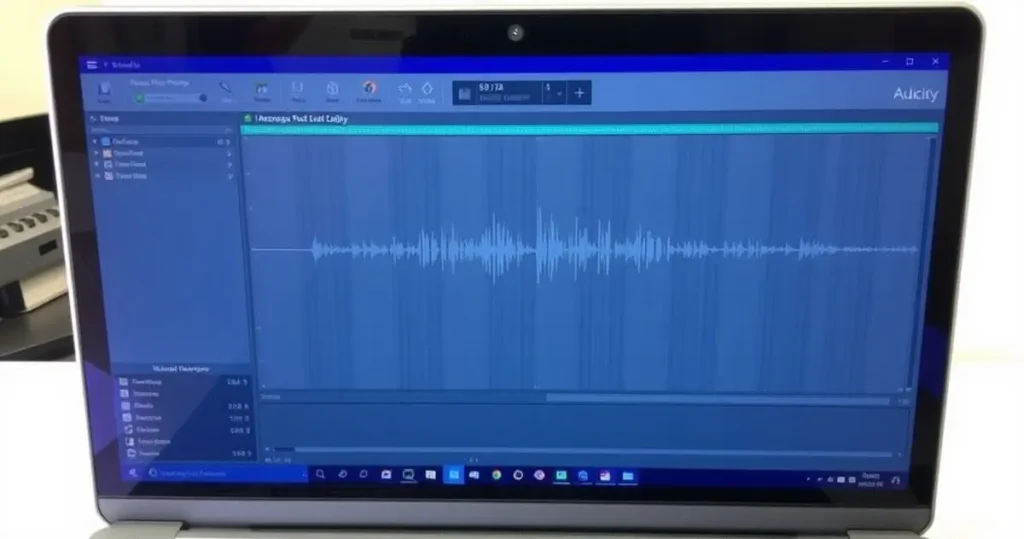
Audacity is a free, open-source audio editor that also works perfectly for recording internal audio.
🔥 Using WASAPI loopback
Audacity supports something called Windows WASAPI loopback, which captures what’s playing on your speakers or headphones, even if Stereo Mix isn’t available.
- Download and install Audacity.
- Open it and select the Audio Host as
Windows WASAPI. - Choose your playback device (usually “Speakers” or “Headphones”) with
(loopback)next to it. - Click the red Record button.
Now you’re recording internal audio directly. Once done, you can edit, trim, and export to MP3 or WAV.
How to Record Internal Audio on Windows 11 with OBS Studio
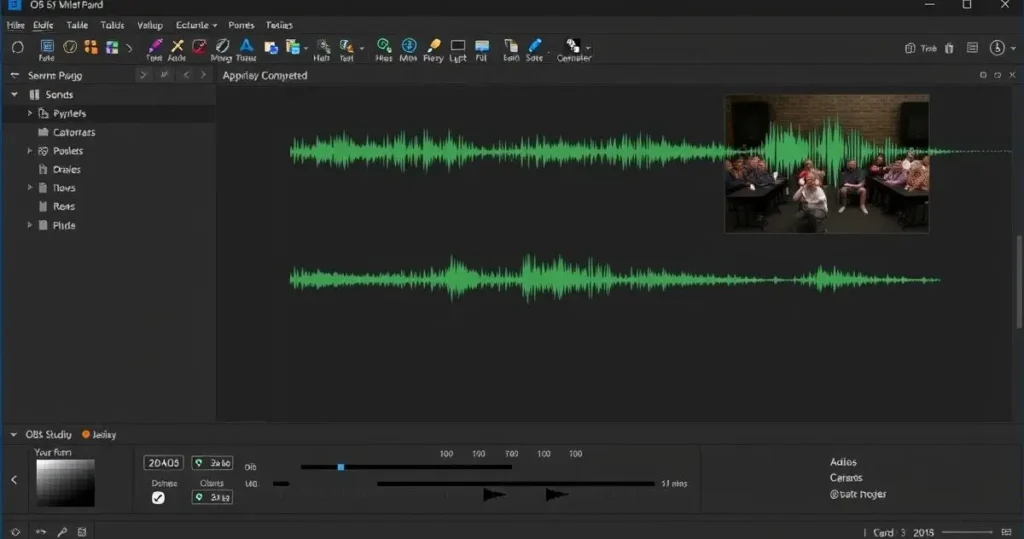
If you want to record both video and internal audio, OBS Studio is your best bet. It’s popular among streamers and YouTubers because it’s free, powerful, and customizable.
🚀 Setup guide
- Download OBS Studio and install it.
- Open it and go to
Settings > Audio. - Make sure
Desktop Audiois set to your speakers/headphones. - Add a
Display CaptureorWindow Captureto record the screen. - Click Start Recording.
OBS captures system audio by default, so you don’t need special drivers or Stereo Mix. Plus, you can record your mic at the same time.
How to Record Internal Audio on Windows 11 with Third-Party Apps
If you prefer simpler tools, here are some excellent options:
| Tool | Best For | Highlights |
|---|---|---|
| Bandicam | Gameplay recording | Can record internal & mic |
| Camtasia | Tutorials & editing | Built-in editor |
| Wondershare DemoCreator | Presentation videos | Easy annotations |
| Apowersoft Audio Recorder | Pure audio capture | MP3/WAV export |
These often come with intuitive interfaces, one-click start/stop, and direct export features.
How to Record Internal Audio on Windows 11 Without Stereo Mix or Extra Software
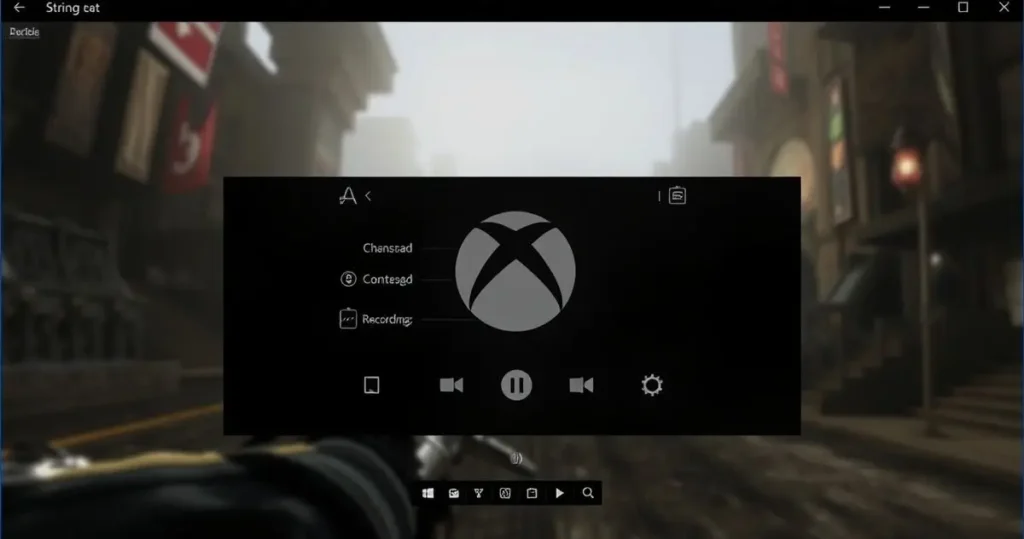
🎮 Using Xbox Game Bar
Windows 11 includes Xbox Game Bar, which can record your screen and internal audio by default. Here’s how:
- Press
Win + Gto open Xbox Game Bar. - Click the Capture widget.
- Click the Record button.
It records whatever audio is playing through your system. However, it’s mostly designed for games and won’t capture your desktop unless a game or specific app is in focus.
Tips for High-Quality Internal Audio Recording on Windows 11

✅ Adjust system volume: Too high can clip; too low might be inaudible.
✅ Close unnecessary apps: Background sounds like notification dings can spoil recordings.
✅ Use headphones: Prevents your mic from accidentally picking up system audio.
✅ Test before long recordings: Avoid wasting time on recordings with no sound.
FAQs on How to Record Internal Audio on Windows 11
❓ Why can’t I see Stereo Mix?
Not all drivers include it. You can try updating your audio driver from your motherboard’s site or use WASAPI in Audacity as an alternative.
❓ Can I record internal audio and mic together?
Yes! Most tools like OBS, Bandicam, and Camtasia let you record both.
❓ Is it legal to record streaming audio?
Only for personal use. Distributing copyrighted recordings without permission can violate copyright laws.
Conclusion: Mastering How to Record Internal Audio on Windows 11
Learning how to record internal audio on Windows 11 might seem daunting, but with this guide, you now have multiple options — whether it’s enabling Stereo Mix, using Audacity’s WASAPI, leveraging OBS Studio, or simply hitting record on Xbox Game Bar.
Choose what suits your needs best, test your setup, and start capturing crisp, clear audio from your PC today. Happy recording!
Read also: Logitech Gaming Software
Read Also: Best Animation Software for Beginners 2025